|
Free Pedal Power Plans for Stationary Exercise Bike Power Bicycle Generator
Take a look at these video clips showing the spin bike generator in action: Click HERE
This this pedal power bicycle generator system allows you to harness human energy to put to good use.
Materials: If you have questions on parts to use send an email to sales@pedalpowergenerator.com
ORDER YOUR COMPLETE HUMAN POWER GENERATOR SYSTEM NOW
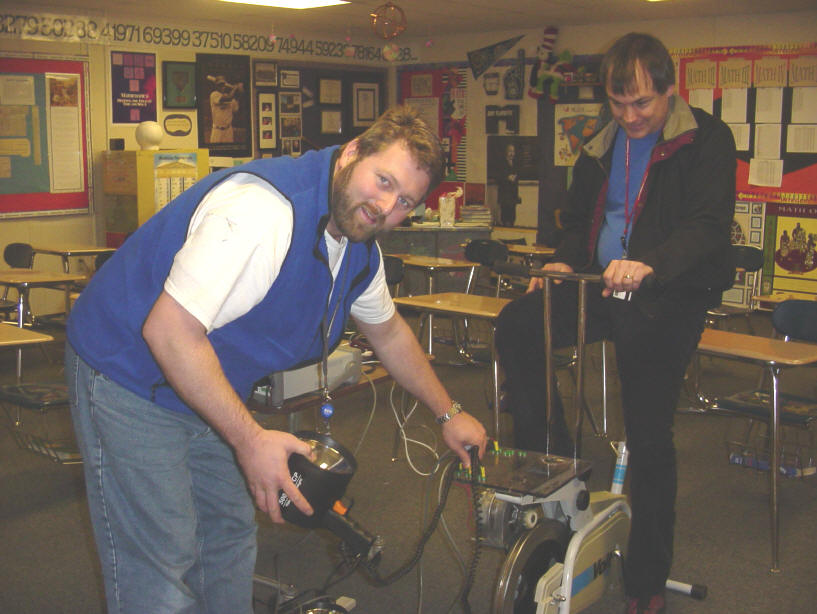
If you are setting this up at a school, it is very important to provide something to look at that is fun for the kids, something that will inspire them to pedal faster. I used a fan with a tube and a small ball. (See picture) The kids love to make the ball fly to the top of the tube, and if the pedal fast enough, it will come up out of the tube and hover in mid air. Me and my buddy Joe setting up for a class activity
The kids really love doing this experiment.
It turns out that in 1 minute, each team generated about 0.0015 cents of power (assuming about 5cents / KW H)
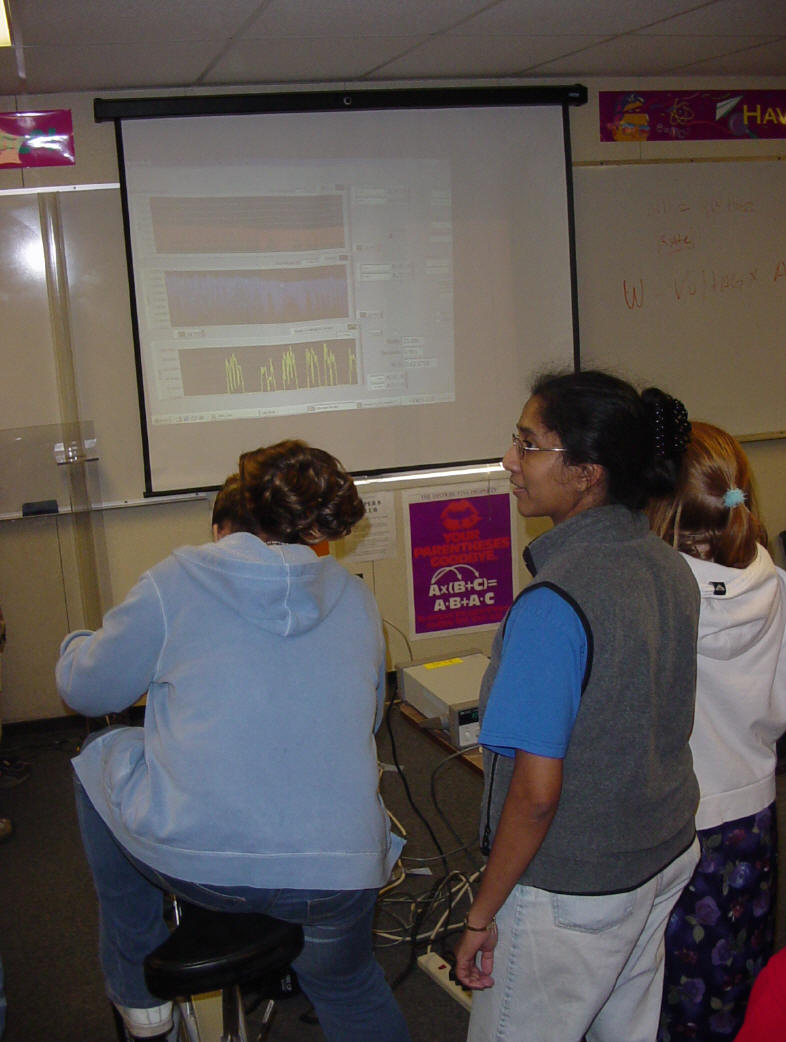
This photo is the bike with LabVIEW program projected on to the big screen.
The data on the top chart (red) is the real time voltage, the 2nd chart
(blue) is the current measured from a shunt resistor. Both of these
measurements are done by a LabJack
Data Acquisition Box Order Information HERE
Exercise Bike + DC Permanent Magnet Motor
HEAVY FLY WHEEL STATIONARY STYLE EXERCISE BIKE GENERATORS
|
|


 +
+ 
